So you want to build your own dartboard stand, huh? You’ve come to the right place. There’s nothing quite like the thrill of hurling sharp projectiles at a wall target in the comfort of your own home. But before you start flinging darts willy-nilly, you need a proper stand to contain all that enthusiasm and prevent unwanted holes in walls, pets, and loved ones.
In this how-to guide, we’ll walk you through the entire process of crafting a custom dartboard stand from scratch. With some basic tools, a few boards of wood, and a free afternoon, you’ll be firing bullseyes in no time. The best part is you can customize the stand to perfectly fit your space and style. A splash of paint or some stickers are all you need to transform a plain wooden stand into a real showpiece.
So grab your safety goggles, dust off your power drill, and let’s get building! By the time you’re done, the only thing left will be deciding whether to display your new creation in the living room, garage, or that empty corner of the basement. The options are as limitless as your dart-throwing potential. Let’s do this!
What is the spacing for a dart board?
When setting up your dartboard, the spacing is key for an enjoyable game without interference. You want enough space so players have room to comfortably stand, move and throw, but not so much that it feels empty.
For recreational play at home, aim for at least 8 to 10 feet of clearance in front and behind the board. This gives throwers adequate elbow room and prevents darts from bouncing off the wall. On the sides, 3 to 5 feet should suffice. More competitive players may want 12 feet or more of space to emulate a regulation setup.
The height of your dartboard is also important. According to official tournament regulations, the bullseye should be 5 feet 8 inches from the floor. This standard height works well for most casual and competitive players. If you have limited vertical space, you can go slightly lower, but no higher than 6 feet.
An area rug, foam pads or other floor protection in front of the board will prevent darts from damaging the floor. You may also want to consider a backdrop to prevent stray darts from hitting the wall. A sheet of plywood, cork board or commercial dartboard backboard can work well.
Tools Needed
To build this dartboard stand, you’ll need some essential tools and supplies.

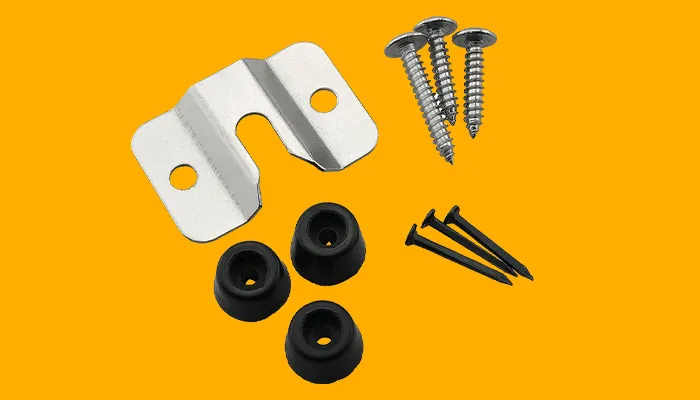
First up, a tape measure, level, and pencil are must-haves for measuring, marking, and ensuring everything is evenly aligned. A drill, screwdriver, hammer, screws, nuts, bolts, and washers will be necessary for securely assembling the pieces.
For the stand itself, you’ll want a sturdy wooden board, at minimum 24 by 24 inches, to serve as the base. Some popular options are plywood, MDF or particle board. For the vertical support pole in the center, a wooden dowel or metal pipe, at least 1 inch in diameter and 6 feet tall, should do the trick.
You’ll also want to pick up a dartboard bracket or mount to attach the board to the top of the pole. Make sure it’s specifically designed for dartboards, as it needs to securely hold the board in place while handling the impact of thrown darts.
Once you’ve gathered the essential tools and supplies, you’re ready to start crafting. Take your time measuring and ensuring everything is level for the best results. With the right pieces and patience putting it all together, you’ll have a dartboard stand in no time that will provide years of enjoyment. Game on!
Choosing the Right Materials for Your Dartboard Stand
When it comes to choosing materials for your dartboard stand, you have a lot of options. The most important things to consider are durability, stability, and safety.
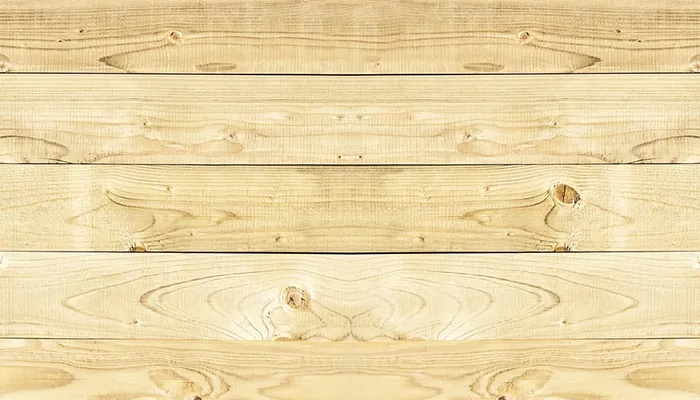
Wood, like pine or oak, is always a great choice. It’s sturdy, affordable, and easy to work with. Just be sure to use thick boards, at least 3/4 of an inch. For extra stability, you can’t go wrong with metal pipes or beams. Steel is virtually indestructible and will support even the most competitive games.
If you want something more budget-friendly or portable, PVC or ABS plastic pipes can work in a pinch. They’re lightweight but durable enough for casual use. However, they may not hold up as well over time or during intense matches.
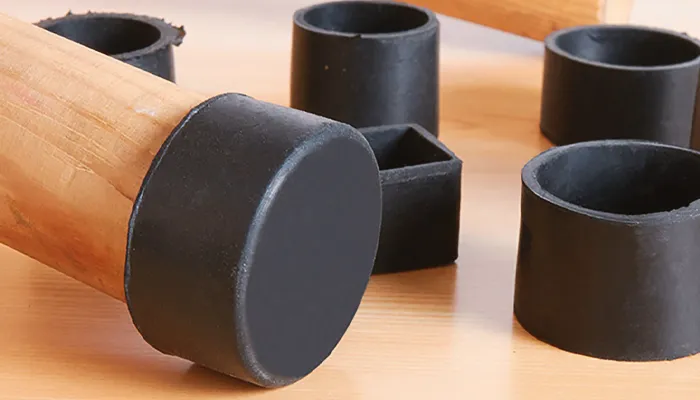
No matter what you choose, make sure all parts are securely fastened together. The last thing you want is for your board to come crashing down in the middle of a game! It’s also a good idea to attach felt, cork, or rubber pads to the base. This prevents slipping and scratching of floors.
Safety should always come first. Avoid any materials with sharp edges and make sure there are no pinch points. If there are kids around, you’ll also want a stand that’s very stable and difficult to tip over. It may be worth anchoring it to the floor or a wall for extra security.
With the right materials and safety precautions, you’ll have a dartboard stand that provides hours of fun for players of all skill levels. Now get out there and start crafting your perfect setup!
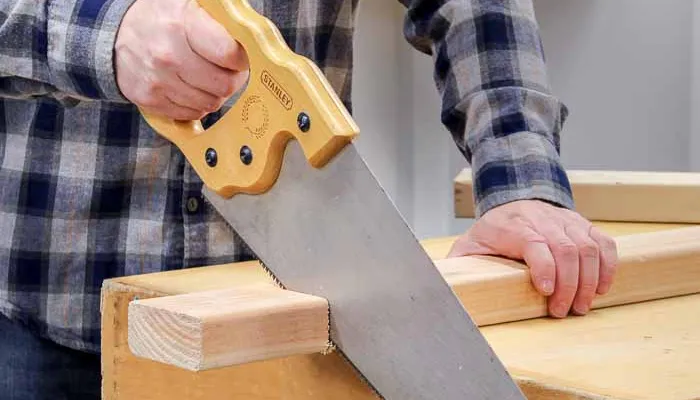
Measuring and Cutting the Wood Pieces
To build a sturdy dartboard stand, accurate measurements and cuts are key.
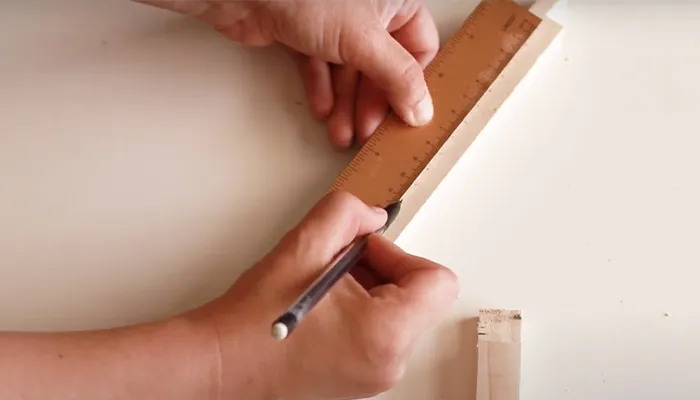
Measuring and Cutting the Wood Pieces
Grab your tape measure, saw, drill, and level. Carefully measure and mark the wood according to the dimensions in the design. Double-check your measurements before making any cuts!
For the base, cut a square of 3/4-inch plywood that’s at least 24 inches by 24 inches. This provides a wide, stable foundation. Use your level to ensure the base is perfectly flat and even. An unleveled base will cause the entire stand to be off balance.
Measure and cut a 4×4 beam to 6 feet in length. This will serve as the vertical support pole in the center of the stand. Drill pilot holes in the base and pole so you can securely attach them with bolts. Tighten the bolts firmly so there’s no wobbling.
Finally, cut the 2×4 boards into two 4-foot lengths. These will support the dartboard at the proper height. Drill pilot holes and attach the boards to opposite sides of the pole using wood screws. Double check that the boards are level before tightening the screws completely.
With the wood pieces measured, cut, and assembled, you’ve completed the essential skeleton of the dartboard stand. Sand down any rough edges and you’re ready to attach the dartboard. Measure carefully to position the boards so the bullseye is centered at 5 feet 8 inches high.
By taking the time to ensure accurate measurements and cuts, you’ll end up with a dartboard stand that’s perfectly level and stable. Your throws will be on target in no time!
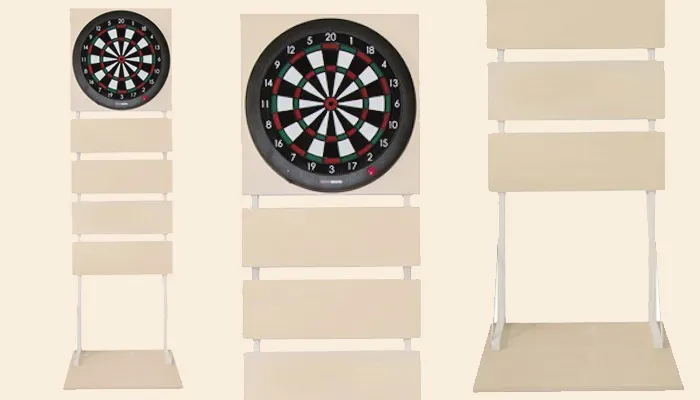
Assembling the Frame of the Dartboard Stand
Now it’s time to assemble the frame of your dartboard stand. This step requires patience and precision to ensure a stable, secure stand.
Materials
For the frame, you’ll need:
- The two 4’ wooden boards for the legs
- Wood glue
- Screws or bolts to secure the legs to the base
Leg Attachment
- Place one leg on the plywood base at one corner. Use a level to make sure it’s perfectly vertical. Glue the leg in place and clamp until dry.
- Attach the other leg at the opposite corner in the same manner. Double-check both legs are level before the glue dries.
- Once the glue is dry, secure the legs to the base using wood screws or bolts for extra stability. Drill pilot holes to prevent cracking.
- Stand the frame up to ensure it’s balanced and secure. Make any necessary adjustments before the final step.
Cross Braces (Optional)
You can add wooden cross braces between the two legs for maximum stability. Measure and cut two boards to fit snugly between the legs about 2/3 of the way up. Glue and screw the cross braces in place, angled for support.
Your dartboard stand frame is now ready for the final components – the dartboard backboard and pole. With a sturdy frame as the foundation, your DIY dartboard stand will provide years of enjoyment and competition. Take your time assembling each piece and be extremely cautious when handling power tools to build a safe, high-quality stand.
Attaching the Dartboard Bracket and Board
Now that you have the sturdy base and pole assembled, it’s time to attach the dartboard bracket and board. This is a crucial step, so take your time to do it properly.
Finding the Right Bracket
Choose a bracket specifically designed to hold a regulation bristle dartboard. Metal brackets tend to be the most durable. Look for one with multiple points of contact to securely hold the board in place. Some brackets attach at the top and bottom, while others also have side attachments. For the best stability, more points of contact are better.
Positioning the Bracket
Place the bracket on the top of the pole and adjust it so the dartboard will hang at the proper height for play – about 5 feet 8 inches from the floor to the center bullseye. Use a level to make sure the bracket is even. Once positioned properly, firmly attach the bracket to the pole using wood or sheet metal screws, depending on your pole material.
Hanging the Dartboard
Gently place your dartboard onto the bracket. Add washers on either side of the board and secure in place with nuts, tightening them snugly but avoiding over-tightening which could cause the board to warp over time. Your dartboard should spin freely but not wobble.
Safety First
Double check that the board is secure and the stand is stable before starting a game. Place the stand in an open area away from potential hazards like windows. Enjoy your new dartboard stand and happy throwing! Take proper safety precautions, especially if children will be around.
Adding Stability Features to the Dartboard Stand
To ensure your dartboard stand remains stable through intense gameplay, it’s important to incorporate some key features.
Attach the Stand to the Wall (Optional)
For maximum stability, you can attach the back of the stand directly to the wall using wall anchors and screws. This prevents the stand from toppling over if bumped into it or if a wayward dart hits the stand. However, for a portable stand, attaching it to the wall defeats the purpose. In that case, move on to the next steps.
Add Weight to the Base
Place heavy objects like sandbags, dumbbells or cinder blocks on the base of the stand to lower its center of gravity. The more weight added, the more stable your stand will be. You can also consider attaching the stand to a wide, heavy board or platform for the same effect.
Secure the Dartboard
Use sturdy L-brackets to securely fasten your dartboard to the stand. This prevents the board from shifting or falling off if the stand is bumped or moved. For safety, the dartboard should be fastened to the stand before adding any additional weight to the base.
Consider Using Locking Wheels (For Portable Stands)
If constructing a portable yet stable stand, locking wheels or casters are ideal. They allow you to easily move the stand between locations but lock in place during gameplay to prevent unwanted rolling or shifting. Look for wheels with a built-in brake to lock them.
Cross-Brace the Legs (For Freestanding Stands)
For freestanding stands, cross-bracing the legs makes a big difference in stability. Attach boards between the legs at an angle to make a wide, sturdy base. The bracing prevents the legs from shifting or folding in, even if bumped. This, combined with a weighted base, creates an optimally stable dartboard stand.
By following these useful pointers, you’ll craft a dartboard stand so steady, your darts will hit the bullseye every time. The perfect stand lets you focus on your technique and enjoying the game with friends.
Tips for Maintaining Your Dartboard Stand
Now that you have crafted a sturdy and stable dartboard stand, it is important to maintain its quality and longevity. By taking a few precautions, you can ensure that your stand remains in excellent condition for years to come.
Regular Inspections
Periodically examine your dartboard stand to check for any signs of wear and tear. Look for loose screws, bolts, or any other parts that may need tightening. This will help prevent any unexpected accidents during gameplay.
Cleanliness
Keep your dartboard stand clean and free from dirt or dust. Wipe it down regularly with a soft cloth or a mild cleaning solution to maintain its appearance. A clean stand not only looks better but also helps to prevent any damage caused by debris accumulation.
Weather Protection
If your dartboard stand is placed outdoors, consider protecting it from the elements. Extreme weather conditions like rain, snow, or direct sunlight can deteriorate the stand over time. Use a waterproof cover or store it indoors when not in use to prolong its lifespan.
Weight Distribution
Ensure that the weight on the base is distributed evenly. If you add any additional weights, make sure they are properly secured and balanced. This will help maintain the stability of the stand and prevent any wobbling during gameplay.
Regular Adjustments
Over time, certain parts of your dartboard stand may require adjustments. Check the wall attachment, weight distribution, and locking wheels (if applicable) to ensure they are still functioning properly. This will help maintain the stand’s stability and prevent any unexpected movement.
Safe Storage
If you plan to store your dartboard stand for an extended period, follow proper storage procedures. Disassemble the stand if necessary, and store it in a dry and secure location. This will protect it from potential damage and ensure that it remains in good condition for future use.
By following these simple tips, you can ensure that your dartboard stand remains sturdy and reliable. Taking care of your stand will not only enhance your gaming experience but also extend its lifespan, allowing you to enjoy countless hours of dart throwing fun.
FAQs
So you want to build your own dartboard stand but have some questions first. We’ve got you covered. Here are some of the most frequently asked questions about constructing a DIY dartboard stand.
Conclusion
You now have all the tools and knowledge needed to build a custom dartboard stand for your game room. With some basic woodworking skills and the right supplies, you’ll be launching darts at your new board in no time.
Once complete, invite over some friends, grab a cold drink, turn on some music and enjoy an evening of friendly competition. May the best shot win! Building the stand yourself will make your accomplishment even sweeter.
Most importantly, be safe and have fun. After all, that’s what it’s all about. Now get out there and start crafting – your new dartboard stand awaits!