Ever wanted to throw some darts in your own home? Of course, you have, Who wouldn’t want their own private oche to practice their skills for the next time the local pub holds a tournament?
The good news is, with some basic tools and a little know-how, you can securely hang a dartboard on drywall and be flinging flights in no time.
The key is finding the studs, using proper screws, and reinforcing the drywall. While it may seem straightforward to just screw the board directly into the wall, that approach won’t cut it and you’ll end up with a lopsided board full of holes.
Follow these simple steps and you’ll have a professional-looking setup ready for 301, Cricket, or any other game. Your biggest problem will be getting your buddies to go home after a few pints and a few too many rounds of darts. But with a well-hung board, at least you know the darts will stick right where you aim them.
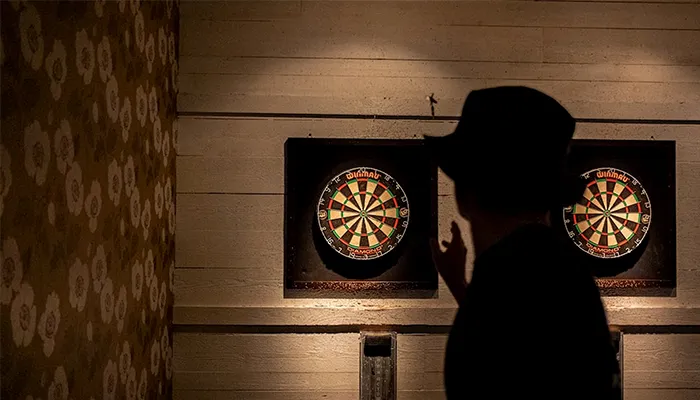
Can a dartboard be hung on drywall?
Can you hang a dartboard on drywall? Absolutely, with the proper technique and materials. Drywall can securely hold a dartboard, you just need to do it right.
Secure the Backing
First, you’ll want to attach a piece of 3/4-inch plywood to the drywall to provide a sturdy backing for the dartboard. Measure and cut the plywood to size, then drill pilot holes in the plywood and drywall.
Use wall anchors or toggle bolts to securely fasten the plywood to wall studs or joists behind the drywall. If there are no studs, use heavy-duty wall anchors rated for the weight.
Mount the Dartboard
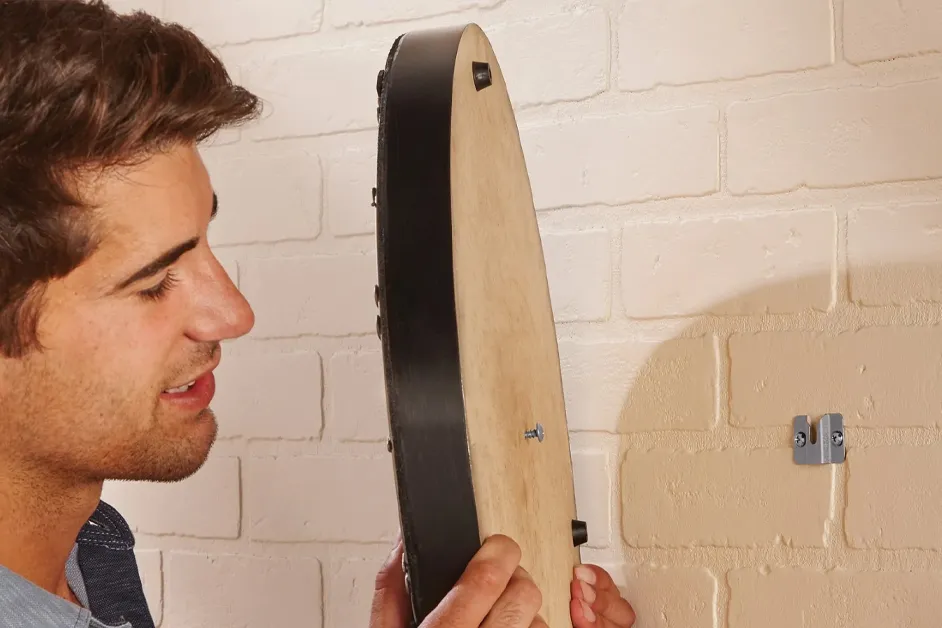
With the plywood backing in place, you’re ready to mount the dartboard. Place the dartboard over the plywood and mark the location of the mounting holes.
Drill pilot holes, then attach the dartboard to the plywood using the included mounting hardware or wall anchors and bolts.
Add Protection
To prevent damage to the drywall, adhere a layer of cork, felt or rubber behind the board. This provides an extra layer of protection for the wall in case any errant darts miss their mark.
By securing a plywood backing and using the proper mounting techniques, a dartboard can be safely and securely hung on drywall. With a little DIY know-how, you’ll be throwing darts in no time! Practice your aim and let the games begin.
Choose the Right Location for Your Dartboard
The location you choose for your dartboard is critical to a fun and safe game.
First, pick an open space that’s at least 8 to 10 feet away from the nearest wall. This gives you plenty of room for an unobstructed throw and allows the darts to stick securely in the board.
Next, make sure there’s nothing breakable within the “fallout zone” around the board. Place it away from windows, lighting fixtures, paintings or anything else a stray dart could damage.
Also, check what’s behind the wall you’re mounting the board to. Avoid plumbing, electrical wiring or anything that could be accidentally hit. You don’t want any surprises!
The ideal spot is in a garage, basement or recreational room. But if you have to go with a living room or den, try to find a section without a lot of foot traffic or activity. The last thing you need is someone walking in front of the board during play.
With the perfect location selected, you’re ready to mount your board and start throwing. But remember, always exercise caution and never throw dents when others are downrange of the board. Safety first for a fun game of darts!

Tools and Materials You’ll Need
To securely hang your dartboard, you’ll need a few essential tools and materials.
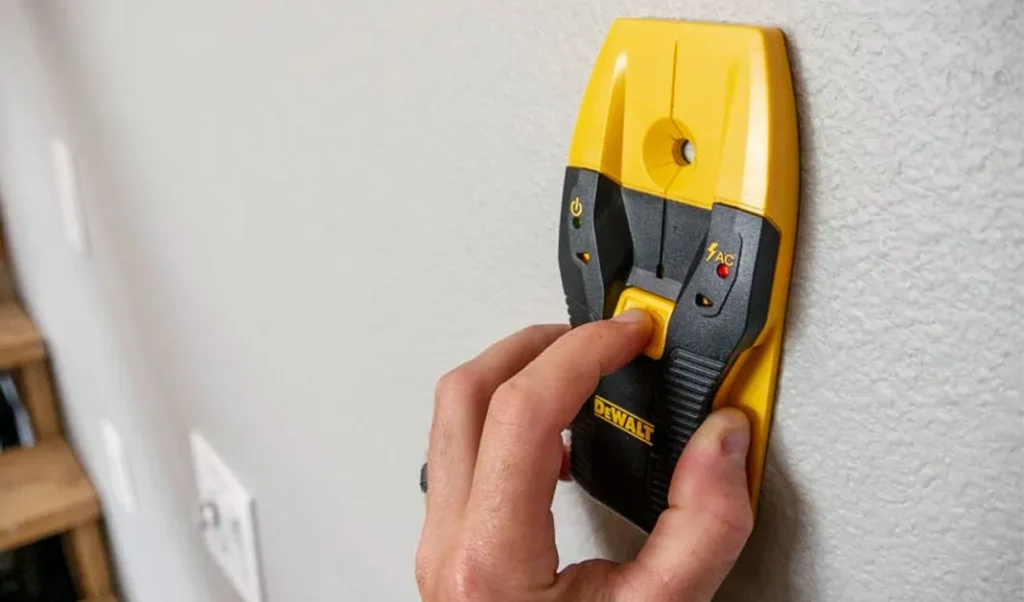
Stud Finder
A stud finder is a must for finding the studs in your drywall to provide a sturdy mounting surface for your dartboard. Choose a stud finder that can detect the edges of studs so you know exactly where to place your screws.
Screws
Use screws specifically meant for mounting items on drywall, like drywall anchors or toggle bolts. Regular screws won’t grip properly in drywall alone. Look for screws around 2 to 2 1⁄2 inches in length for most dartboards.
Level
A level ensures your dartboard will hang evenly for the best game play. Place the level across the area you want to mount the board to make sure it’s even before screwing in the screws.
Pencil
Use a pencil to mark the spots where you want to install the screws in the wall. The marks will give you a guide for placing the screws and ensure accurate, even spacing.
Safety Gear
Consider wearing safety glasses, work gloves, and dust mask. Drilling into walls can produce debris, and the gear will protect you as you work.
With the proper tools and safety gear in hand, you’ll have your dartboard securely mounted to the wall in no time. Take it slow, double check your measurements, and you’ll achieve a professional result and be ready to start playing! Focusing on accuracy and safety will lead to a successful outcome.
Prepare the Wall Surface
To securely hang your dartboard, you’ll need to prepare the drywall surface. Drywall is prone to damage if not properly reinforced.
Mounting Board
Attach a sturdy mounting board, like 3/4-inch plywood, to the drywall before hanging the dartboard. This provides a solid surface for the darts to stick into and prevents the drywall from crumbling.
Secure the mounting board to wall studs for the most stability. If studs aren’t available, use heavy-duty wall anchors that can support at least 50-100 pounds.
Pre-drill pilot holes in the mounting board and drywall to avoid cracking. Drive screws through the board into the studs or anchors.
For extra protection, you can apply a layer of cork, felt, or rubber to the front of the mounting board. This provides more “give” for the darts to stick into.
Reinforce the Drywall
If you can’t attach a mounting board, at a minimum reinforce the area of drywall around where you’ll hang the dartboard.
Apply a patch of wire mesh, also known as hardware cloth, over the drywall. Secure the mesh with wall anchors and screws. The mesh prevents the drywall surface from crumbling when darts land near the edge of the board.
You’ll also want to avoid hanging the dartboard over a seam in the drywall. The seam is weaker and more prone to damage.
Reinforcing the wall in these ways will provide a long-lasting, high-quality surface for your dartboard. With the proper backing, you’ll be throwing darts with confidence in no time!
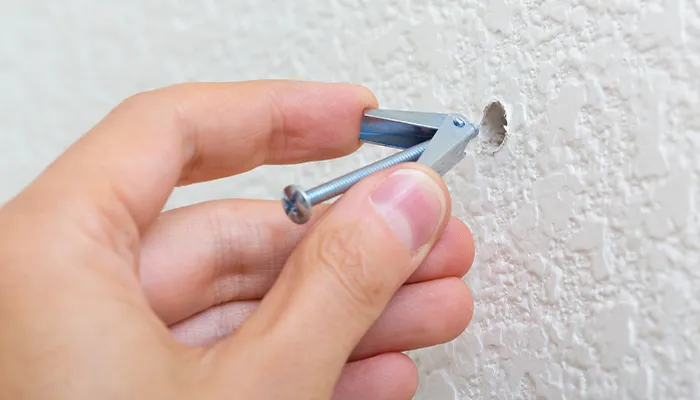
Install Drywall Anchors
To securely hang your dartboard on drywall, you’ll need to install anchors to provide reinforcement. Drywall alone will not hold the weight.
Install Drywall Anchors
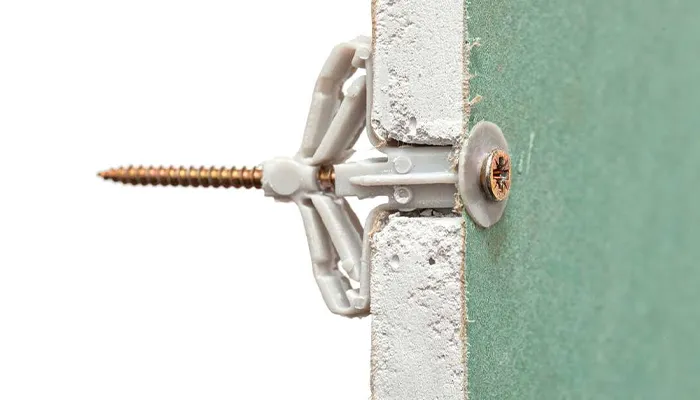
For the best results, use toggle bolts or hollow wall anchors.
Toggle bolts expand behind the drywall to grip strongly. Drill pilot holes, feed the bolts through, and tighten the nuts. These can hold up to 50-100 lbs, perfect for a dartboard.
Hollow wall anchors also expand behind the wall. Place the pointed end of the anchor into a pre-drilled pilot hole and tap into place with a hammer. The prongs open up to wedge themselves in place. Screw your mounting screws into the anchors. These anchors typically hold 15-50 lbs.
Be sure to space the anchors about 6 to 8 inches apart for the most secure installation. The dartboard itself should have pre-drilled holes in the frame to attach to. If not, you’ll need to drill your own pilot holes in the frame to line up with the wall anchors.
For the pilot holes in the wall, a drill bit slightly smaller than your anchors is best. Take your time drilling to avoid cracks. wipe away any dust before installing the anchors.
If your darts are on the heavier side, it may be best to install a wooden backboard first, and then mount the dartboard to that. The wood can provide extra reinforcement between the wall anchors.
With the proper technique and anchors installed, your dartboard will be securely hanging in no time. Throw away at your target without worry it will end up on the floor! Practice your skills and work on improving your accuracy.
Mount and Level Your Dartboard
Once you have the proper backing installed, it’s time to mount your dartboard. For the best results, take your time and follow these steps:
Positioning
Place your dartboard so the center (bullseye) is 5 feet 8 inches high, measured from the floor to the center of the board. This regulation height works for most players.
Also, position the board so you have at least 7 to 10 feet of clearance in front and to the sides of the board. This gives you ample room to throw from and ensures no one will be walking in front of an active game.
Leveling
A level board is key to accurate scoring and enjoying your game. Use a level to make sure your dartboard is even before securing it in place. If needed, you can adjust by sliding additional washers behind the board until it’s perfectly balanced.
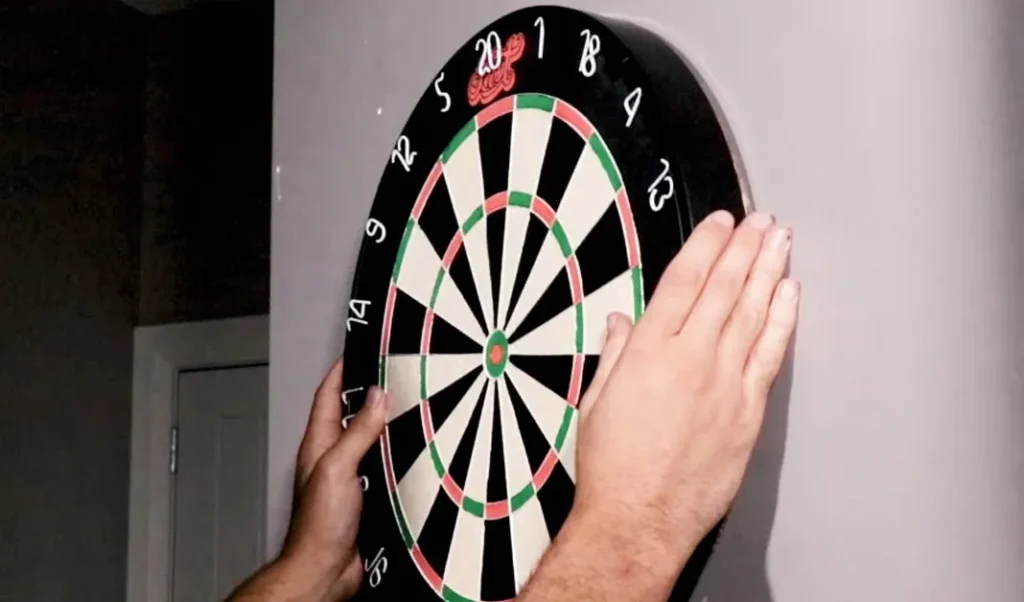
Once level, have an assistant hold the board in place against the wall while you drive the mounting screws into the pilot holes.
Securing
Drive the mounting screws straight into the wall anchors until the screw heads are flush with the wall. Do not overtighten. Give the board a firm tug in all directions to ensure it’s secure before starting a game.
To prevent the board from loosening or falling over time, check the mounting screws and tightness regularly. You may need to retighten the screws or install new wall anchors if the board becomes unstable. With the proper installation and care, your dartboard will provide you hours of entertainment. Game on!
How do you protect drywall from darts?
To protect your drywall from damage, you’ll need to take some extra precautions when hanging a dartboard.
Backing board
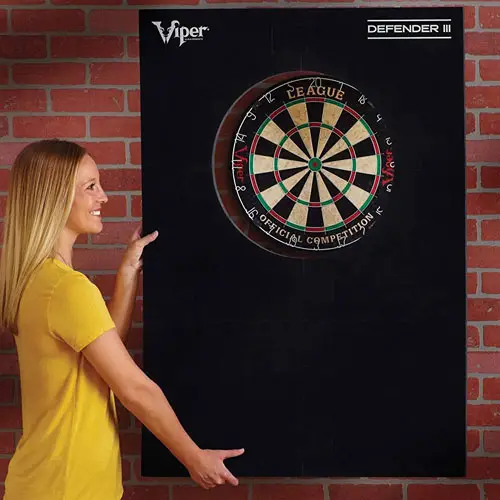
Place a wooden backing board behind your dartboard. A 1/2 inch thick board, like plywood, will prevent darts from embedding into the wall. Secure the backing board to wall studs, not just the drywall. This provides a sturdy base and helps avoid cracks in the drywall.
Secure the dartboard
Don’t just adhere your dartboard directly to the drywall with nails or screws. Instead, mount the dartboard to the backing board.
This way the backing board takes the impact, not your wall. You can mount the board with wood screws for the most secure hold, or heavy-duty wall mounts.
Make sure to leave some space between the backing board and wall so the darts have room to embed without hitting the wall. About 1 to 2 inches should do the trick.
You’ll also want to invest in a high-quality bristle dartboard that is meant for casual home use. Boards with tightly packed bristles will have less dart drop-out and prevent more damage.
Repair any damage
If your darts do cause some minor cracks or holes in the drywall, you’ll need to patch and repair them. Use drywall tape and joint compound to cover any cracks. For small dart holes, fill them in with joint compound and sand smooth once dry. Then, paint over the area to match your wall color.
By taking these protective measures, you can enjoy a game of darts without worrying about the condition of your walls. Play on, but do so responsibly! Your drywall will thank you.
FAQs
Have some questions about hanging a dartboard? Here are some of the most frequently asked ones:
Conclusion
So there you have it, the step-by-step process for securely hanging your new dartboard. While drywall may seem tricky to mount things on, with the right technique and tools, you’ll have that board up and ready for a game of darts in no time.
Now get out there, follow these tips, grab a few friends, and start improving your aim. Pretty soon you’ll be hitting bullseyes and triple 20s and wondering why you didn’t get a dartboard sooner. Happy throwing and remember—the key is in the wrist! May your darts fly straight and true.

