
Have you just bought your first electronic dartboard and can’t wait to start throwing some darts? Congratulations, you’re in for hours of entertainment. But before you start launching darts at the board willy-nilly, there are a few things you need to do to get set up.
Don’t worry, we’ve got you covered. In just five quick steps, you’ll be scoring bullseyes and beating your friends in no time. Grab yourself a cold one, find a spot on the wall to mount your new board, and let’s get started. By the time you finish reading this, your electronic dartboard will be ready for action.
Choose the Right Spot to Mount Your Electronic Dartboard
The most important step is finding the perfect spot to hang your electronic dartboard.
Location, Location, Location
Look for a place that’s out of the way of normal foot traffic and seating areas. You want at least 8-10 feet of open space in front and to the sides of the board. Make sure it’s a spot where people won’t be walking by or sitting close to the board. Getting hit by an errant dart is no fun!
Also consider the surface behind the board. A solid wall without windows is best. If you have drywall, you may want to mount a piece of plywood behind the board first to give the darts something solid to stick into.
Lighting is another factor. While electronic boards often have built-in lighting, you still want a well-lit area so you can clearly see the target and scoring sections.
Finally, measure the height of your players to determine the best mounting height. As a general rule, the bullseye should be 5 to 6 feet high for most casual players and kids.
With the right location and mounting height chosen, you’ll be ready to start playing games and keeping score on your electronic dartboard in no time! The key is finding a spot that’s safe, well-lit, and at the proper height for your needs.
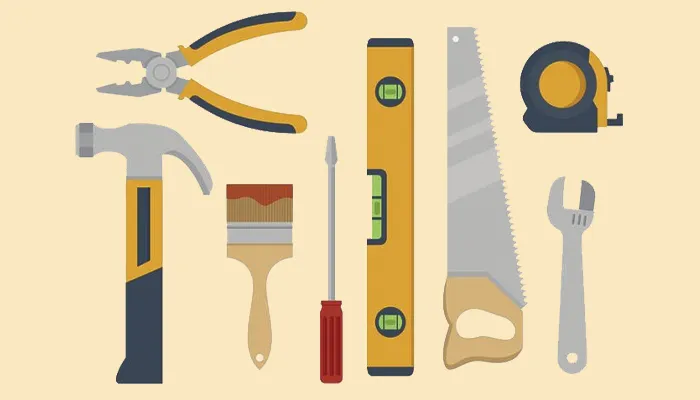
What Tools do I need to set up an Electronic Dart Board?
To get your electronic dartboard up and running, you’ll need a few basic tools.
First, grab a stud finder to locate sturdy wall studs for mounting. You’ll want to securely attach this board, so finding studs is key.
Next, collect hardware like wall anchors, screws or bolts, and a level. The level ensures your board is even so your game isn’t off.
You’ll also want a drill/driver to pilot holes and drive-in screws. A cordless model gives more freedom to move around.
Don’t forget the measuring tape! Measure from the floor and mark spots on the wall to align your board.
For setup, you may need extra hands, so rope in a family member or friend to help lift and hold the board. Their support makes the job way easier.
Once mounted, you just need darts and you’re ready to start playing! But take it slow until you get the hang of it. Play a few practice rounds before jumping into a serious match.
With the right tools and patience, you’ll have your electronic dartboard mounted and ready for a competitive game night in no time. Grab a beverage, queue up the music, and let the games begin!
Install the Dartboard Cabinet or Backboard (Optional)
To get your electronic dartboard ready to play, you’ll need to install it properly. This involves attaching it to a secure cabinet or backboard.
Install the Dartboard Cabinet or Backboard
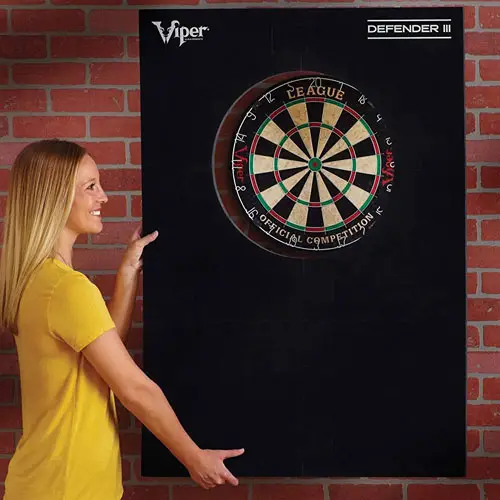
Mounting your electronic dartboard to a wall without a backing can damage it over time. For the best results, install a dartboard cabinet or backboard. These provide a sturdy surface for attaching the board that also protects the wall from stray darts.
You have a few options for cabinets and backboards:
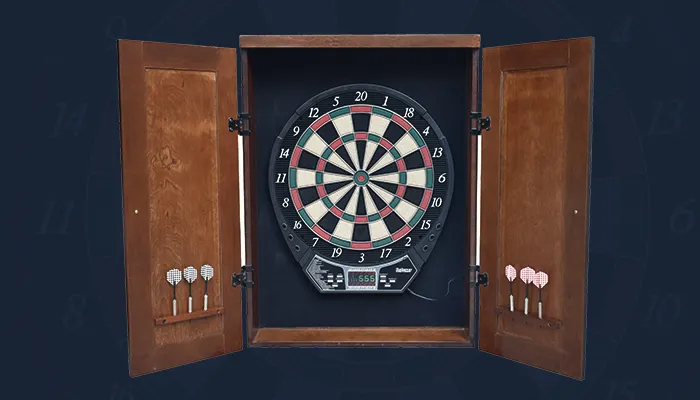
- Dartboard surrounds or cabinets enclose the board on all sides with a door. They offer the most protection but can be pricey.
- Backboards attach behind the board to provide a solid surface. They are more affordable but still protect walls.
- You can construct a simple wooden backboard yourself with plywood and framing. Cut the plywood to fit behind the board with space on the sides for the number ring.
Once you have a cabinet or backboard installed, attach your electronic dartboard using the included hanging hardware. Double check that it’s level for the most accurate gameplay. With your board properly installed and ready to go, it’s time to start throwing some darts!
Following these easy steps to set up the right backing and securely hang your electronic dartboard will ensure you have a professional-looking game room and many enjoyable hours of play. Your friends and family will be lining up to try their hand at a game of darts.

Hang the Electronic Dartboard
Once you have the electronic dartboard out of the box, it’s time to hang it up and get it ready for use.
Find the Right Location
Pick a spot on your wall that is flat, smooth, and free of obstructions. The board should be hung at regulation height for maximum fun – 5 feet 8 inches up from the floor to the bullseye. Make sure there’s plenty of open space in front of the board, at least 8 to 10 feet, so you have room to throw comfortably.
Attach the Mounting Bracket
Secure the included mounting bracket to your selected spot on the wall. For the most secure installation, drill pilot holes into wall studs or joists and attach the bracket with screws. If there are no studs, use drywall anchors rated for the weight. Once the bracket is installed, you’re ready to mount the electronic dartboard.
Attach and Level the Dartboard
Attach the dartboard to the mounting bracket, ensuring all parts are tight and secure. Use a level to make sure your dartboard is hanging evenly. An unleveled board can affect scoring and gameplay. Make any final adjustments to the mounting bracket to get the board perfectly level before the first throw.
Power On and Calibrate
Plug in your electronic dartboard and power it on. Follow the instructions to properly calibrate the board. Calibration ensures accurate scoring by setting the sensor ranges for each segment on the board. Once calibrated, your electronic dartboard is ready for the first round of darts! Gather your darts, chalk up your hands, and let the games begin.

Set Up the Scoring System
To get your electronic dartboard ready to use, you’ll need to set up the scoring system. This allows you to keep score during games and matches.
Connect the Scoreboard
Attach the included scoreboard to the side of your dartboard cabinet according to the instructions. This typically involves plugging a cable into the control panel on the board that will transmit the scores to the scoreboard.
Once connected, turn on your dartboard and the scoreboard will illuminate, showing ‘0’ for each player. You may need to press the ‘Player Change’ button on the board to assign scores to the correct players. Refer to your manual for specifics on how scores are assigned in the games you want to play.
Some boards offer additional options like displaying each player’s name, handicaps, or match stats. Take time to explore the menu options to customize the scoring to your preferences. The scoreboard makes playing darts more competitive and fun by clearly showing the score at a glance.
With the scoring system functioning properly, you’re ready to start a game! Invite some friends over, grab your darts, and let the competition begin. Keeping an accurate score is key to determining the winner, so pay close attention as points are scored. And remember, double-check the scoreboard to ensure it’s displaying the scores correctly for the most fair and fun experience.
Install the Batteries in the Dartboard
Now that your electronic dartboard is mounted properly, it’s time to power it up. Most electronic dartboards operate on batteries, typically 4 AA batteries.
Open the battery compartment on the side or back of the dartboard cabinet. Insert the batteries, making sure the positive and negative ends match up with the markings in the compartment. Secure the cover back on the battery compartment.
With fresh batteries installed, turn on your dartboard using the power switch, usually located on the side or front of the cabinet. The display should light up and go through an initial calibration or test sequence. If the display does not come on or seems dim, try replacing the batteries.
With the batteries installed and tested, your electronic dartboard is fully operational and ready for a game of darts! Gather some friends, grab your darts and start tossing. Let the fun and games begin!
How Do Electronic Dart Boards Work?
Electronic dart boards are a technologically advanced version of the traditional bristle board. Instead of keeping score manually, electronic boards automatically track scores and stats for you.
Embedded sensors detect where your darts land on the board. The board then instantly calculates and displays scores on the built-in digital display. No more hassling with chalk and erasers! Most boards offer options for a variety of games like ‘01 games, cricket, and round-the-clock.
Electronic boards also save you time by eliminating the need to pull darts from the board after each throw. The darts simply stick into the board until the end of the game. Once the game concludes, remove all darts at once.
Another benefit is increased durability. The electronic board surface contains thousands of tiny holes instead of natural fibers. This prevents darts from damaging the playing surface over time through repeated use. Electronic boards tend to last much longer than traditional bristle boards.
If you’re looking to upgrade your game and enjoy more convenience, an electronic dart board is the way to go. With high-tech features, extended durability, and automatic scoring, you’ll wonder why you didn’t switch sooner! Electronic dart boards provide an easy, hassle-free way to enjoy a few casual games with friends or engage in some solo practice.

What Are the Common Mistakes Made During the Setup of an Electronic Dart Board?
Some common mistakes to avoid when setting up your electronic dart board:
Mounting the Board Incorrectly
Electronic dartboards require a smooth, flat surface to mount properly. Make sure to mount your board on a wall stud, not just drywall. If there are no wall studs, you may need wall anchors for extra support. Mount the board at regulation height, 5 feet 8 inches from the floor to the bullseye. Too high or too low and your darts won’t fly accurately.
Choosing the Wrong Power Source
Electronic dartboards require an AC power adapter to operate. Do not plug it directly into an electrical outlet. Make sure you are using the adapter that came with your specific model of dartboard. Incorrect voltage can damage the board or cause it to malfunction.
Not Leveling the Board
An unleveled board will affect how your darts fly and land in the target area. Use a level to make sure your board is perfectly horizontal before securing it in place. Minor tilts and angles can throw off your accuracy and impact your scoring.
Not Reading the Manual
Every electronic dartboard model is slightly different. Read through the included instruction manual to understand how to properly set up and operate your specific board. Learn how the display works, how to start a game, keep score, and change settings. Don’t assume all boards work exactly the same. Reading the manual can help avoid confusion and prevent potential damage.
Following the instructions carefully and avoiding these common mistakes will ensure your new electronic dartboard is set up properly and ready for play. Take your time and do it right for the best experience. Your accuracy and scores will thank you!
FAQs
Once you have your electronic dartboard set up, you probably have a few questions about how to get started. Here are some of the most frequently asked questions to help you out.
Conclusion
So there you have it, 5 simple steps to get your electronic dartboard up and running for a fun night of games with friends. Once it’s mounted, batteries installed, and programmed, you’ll be throwing darts in no time.
The key is taking it slow and following the instructions, even if you’re eager to start playing. Rushing through the setup will only lead to frustration if something isn’t working right. But if you go step by step, your electronic board will be ready for action before you know it.
So grab some darts, invite over a few friends, and enjoy an evening of friendly competition. With the sounds and lights adding excitement, your electronic dartboard is sure to be a hit and the center of all the action!
